Before you begin, make sure you have a stable internet connection - this is critical for a successful installation.
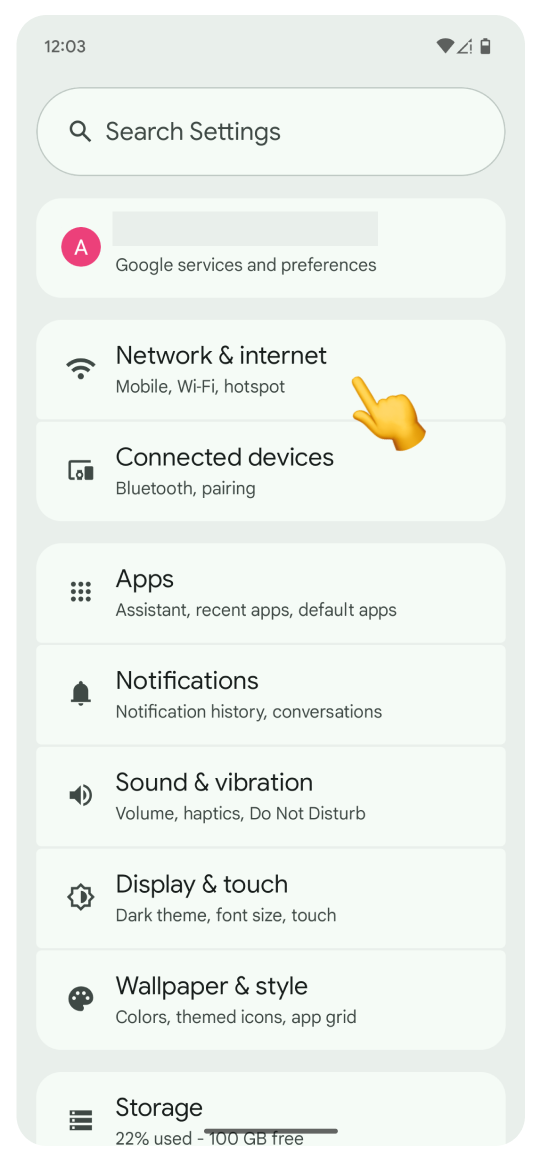
Go to Settings:
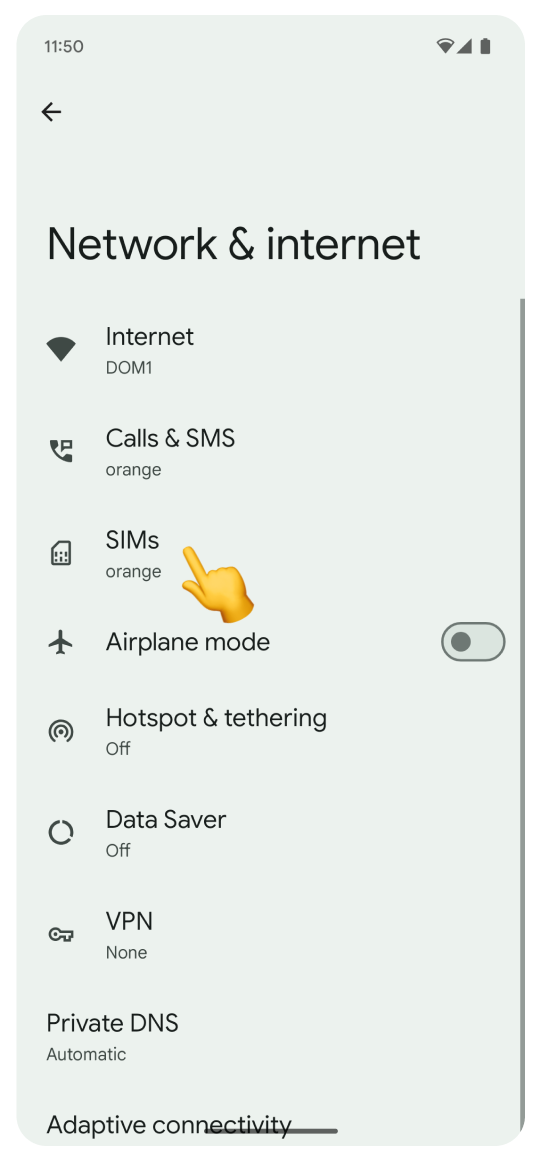
Open Network & internet section.

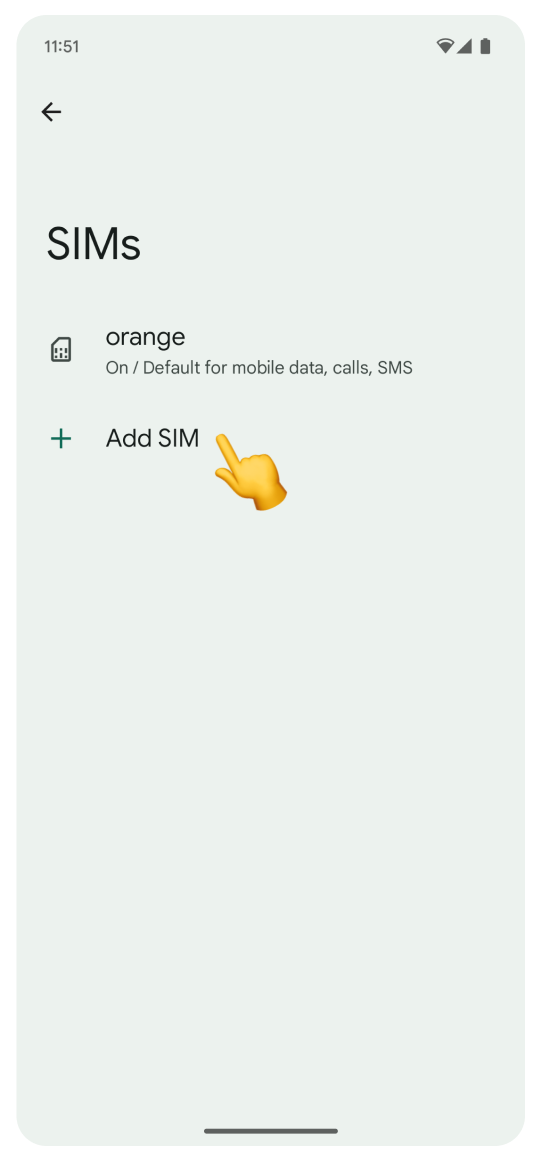
Tap SIMs.
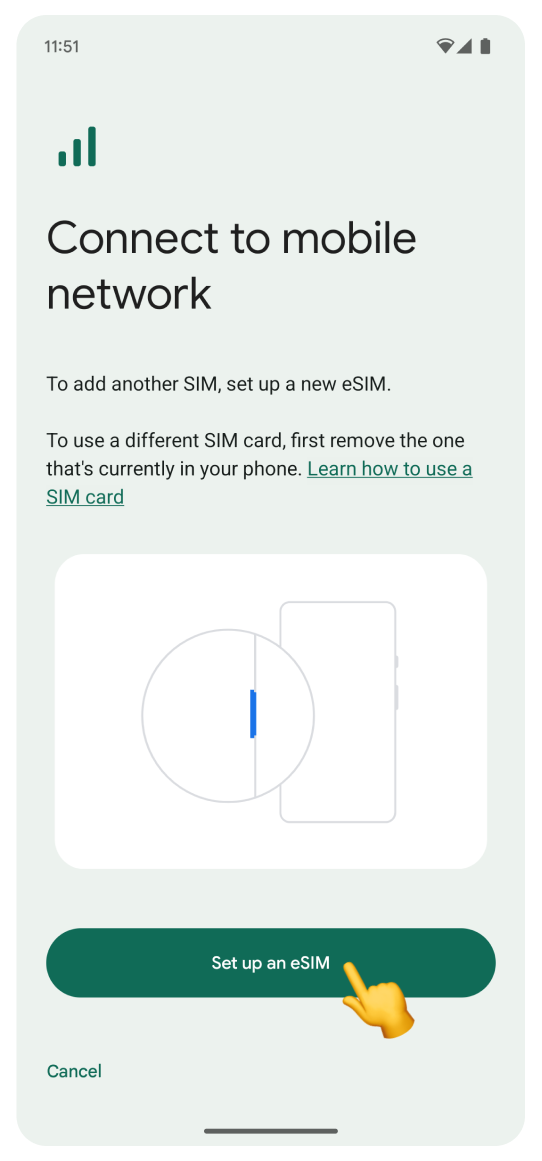
Tap + Add SIM.
Tap Set up an eSIM. The “Checking network info…” screen will appear. Loading on this screen may take a while. Please don't interrupt the process.
Log in to the account you used to purchase your travel eSIM:
Go to Your Account.
Click Complete eSIM setup on your eSIM view.
Click the “No app” tab in the pop-up.
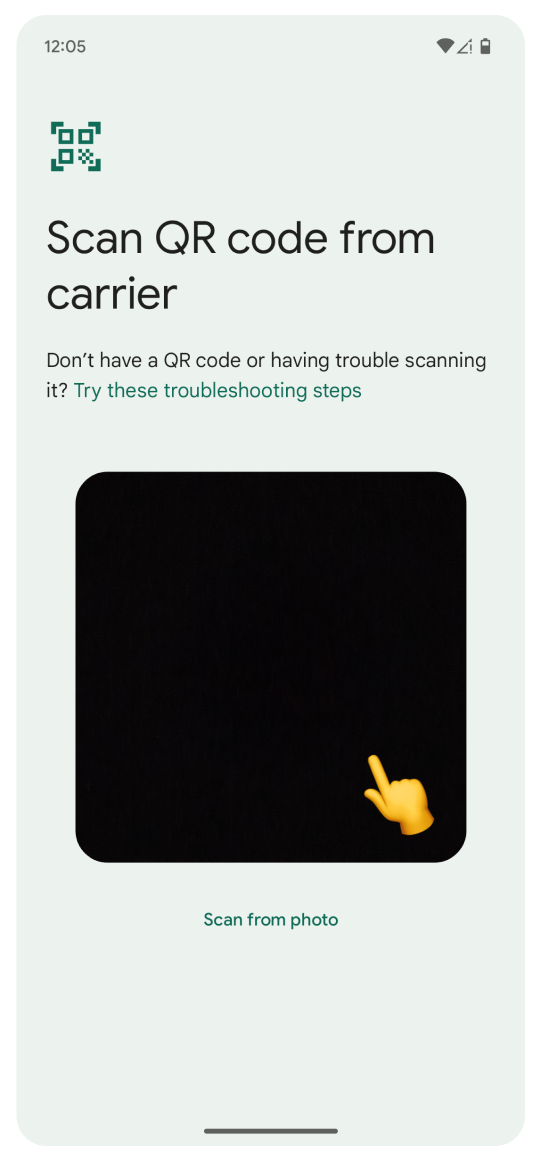
Scan the QR code.
If you can’t log in to your account:
Open the purchase confirmation email sent right after you bought the eSIM.
Scroll to find the QR code and scan it with your camera.
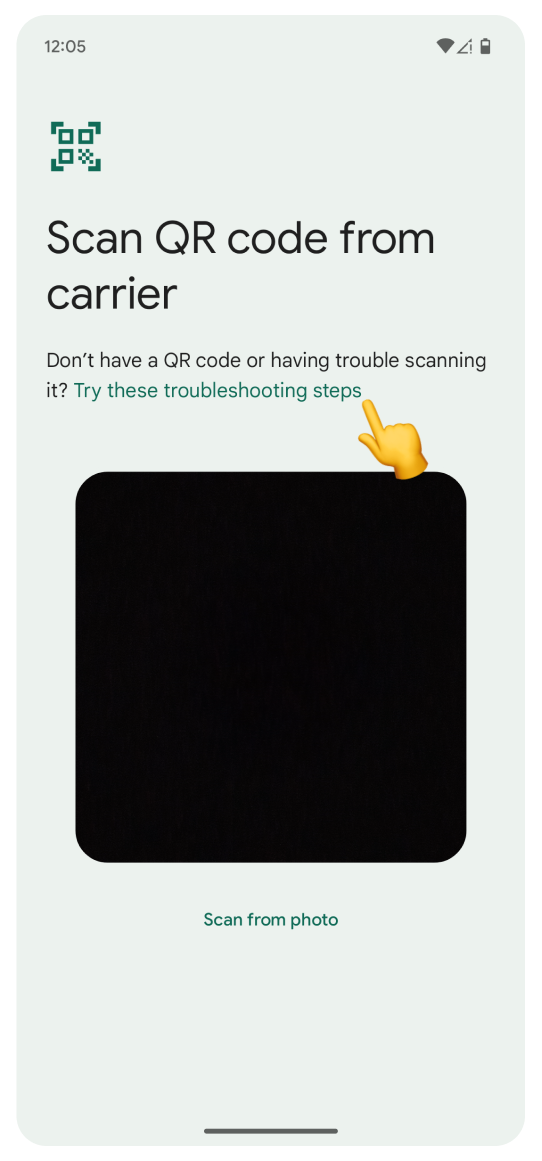
If you can't scan the code:
Tap Try these troubleshooting steps.
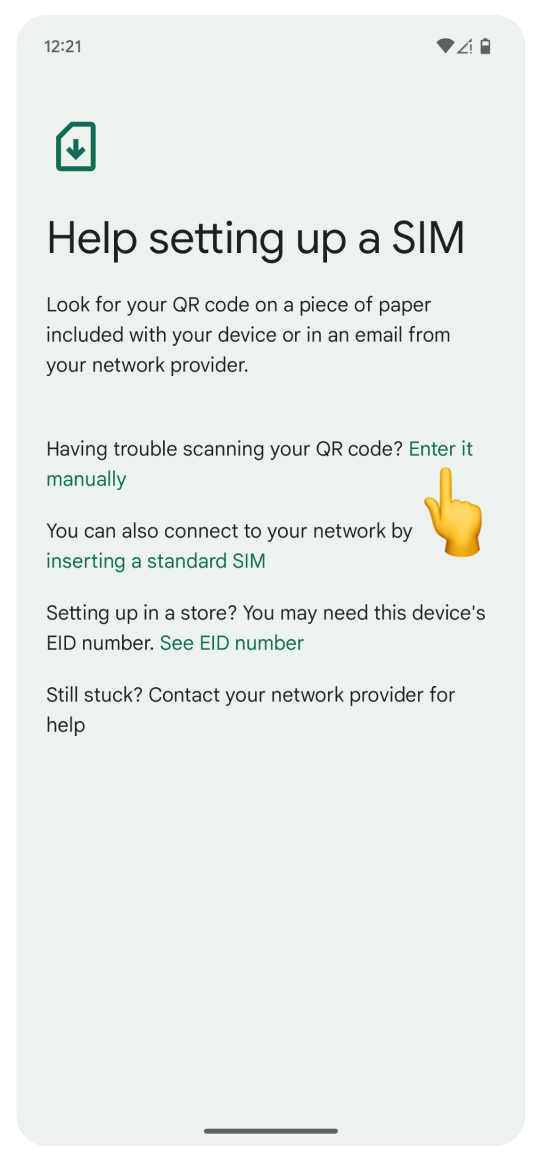
Tap Enter it manually.
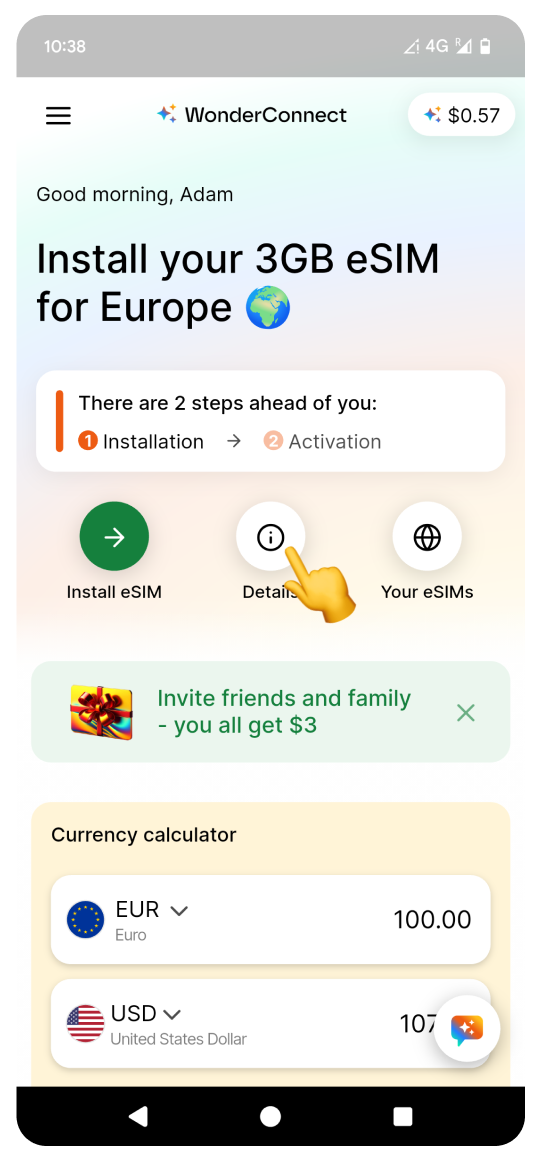
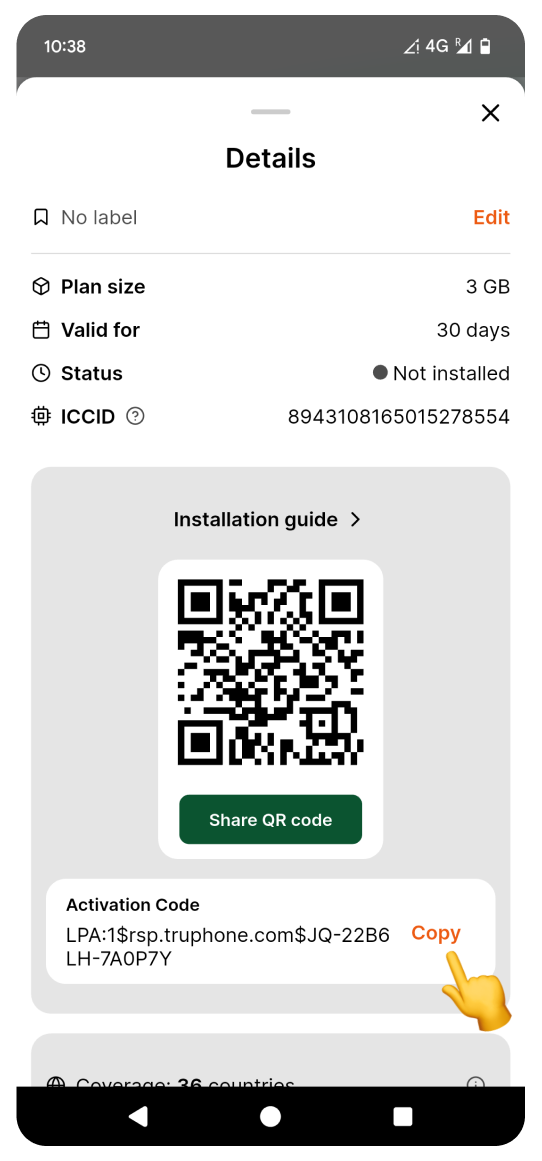
Open the WonderConnect mobile app:
Tap Details on the home screen.
Copy the Activation Code.

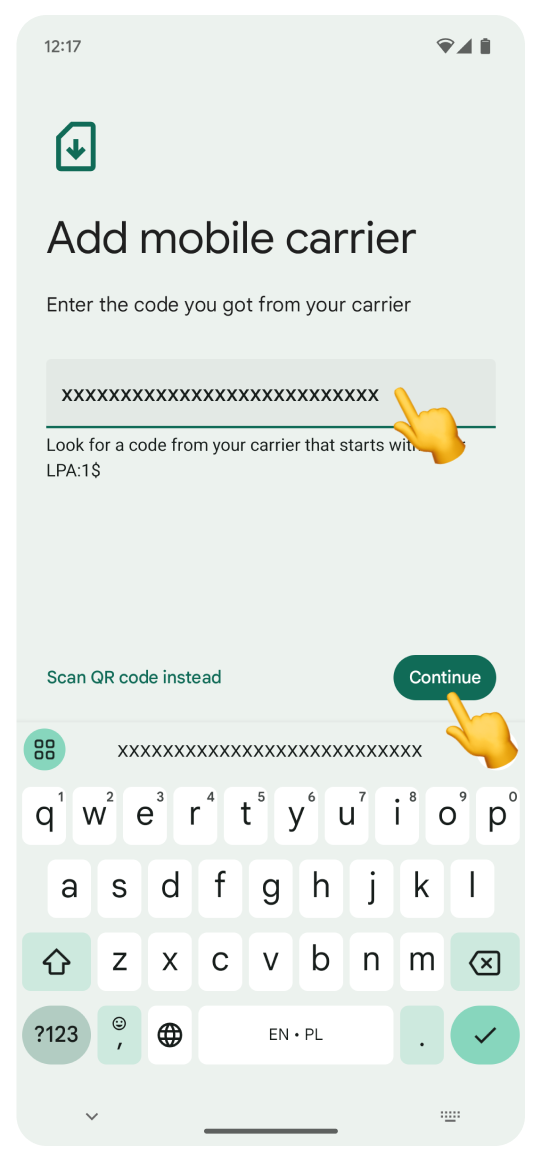
Go back to the settings screen:
Long press to paste the code.
Tap Continue.
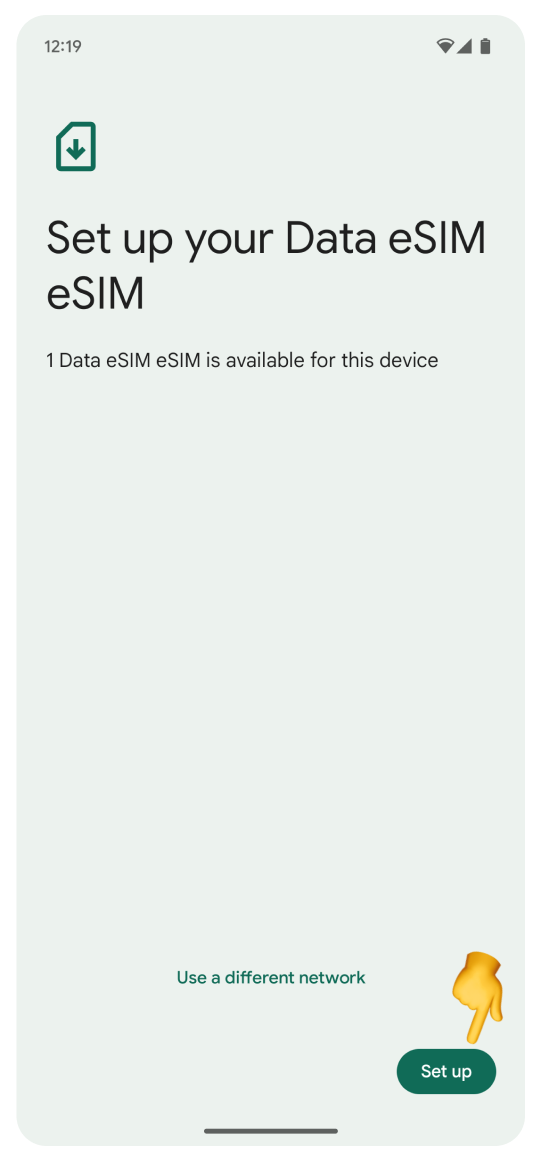
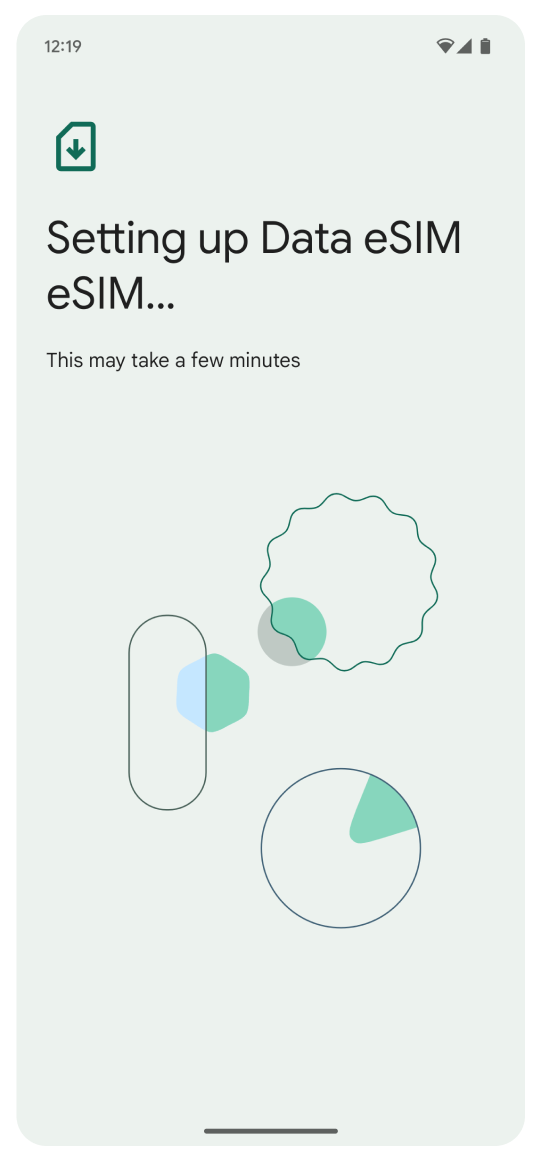
Tap Set up. Don't worry if you see a different eSIM name than the one shown here - it varies based on the location you purchased it for. Next, you will see a loading screen. Please do not interrupt the process.
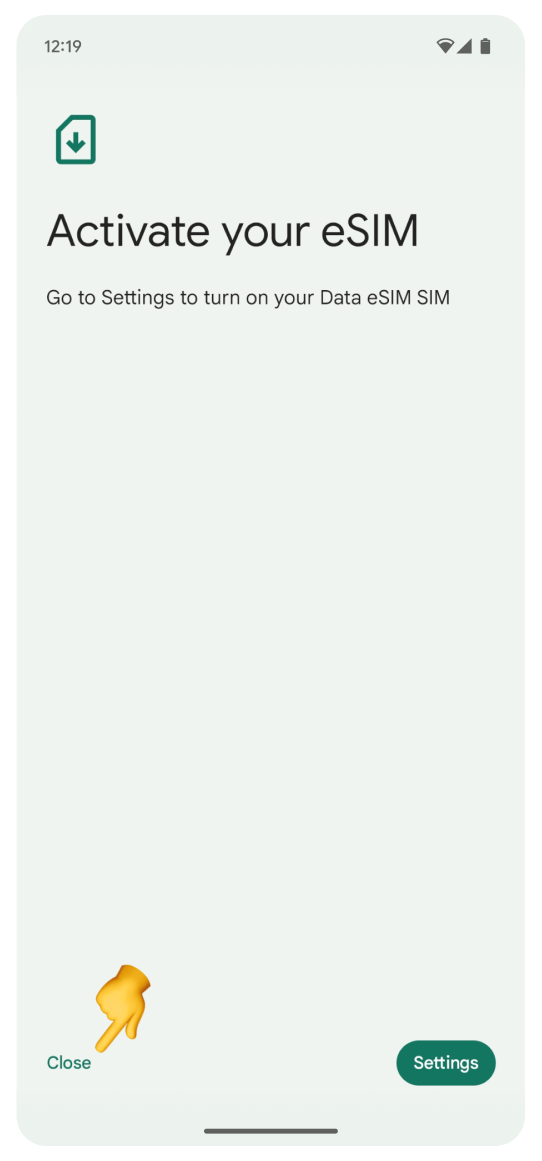
On the “Activate your eSIM” screen:
Tap Close.
🎉 Congratulations! Your travel eSIM is now installed and ready for activation when you reach your destination. You’ll also receive an SMS confirming the installation.
If you go back to the WonderConnect mobile app:
Tap I completed the installation.
Tap Close on the status screen.
Your eSIM is installed, but it’s not active yet. Here's what is ahead of you:
Wait until you arrive at your destination.
When you get there, turn on data roaming to start using your eSIM. Need help? Please follow the activation steps from the linked article.